Control Module Summary Tab

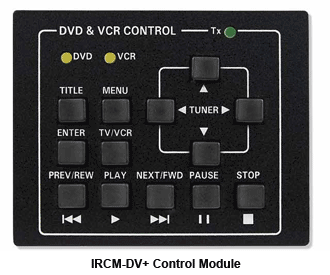
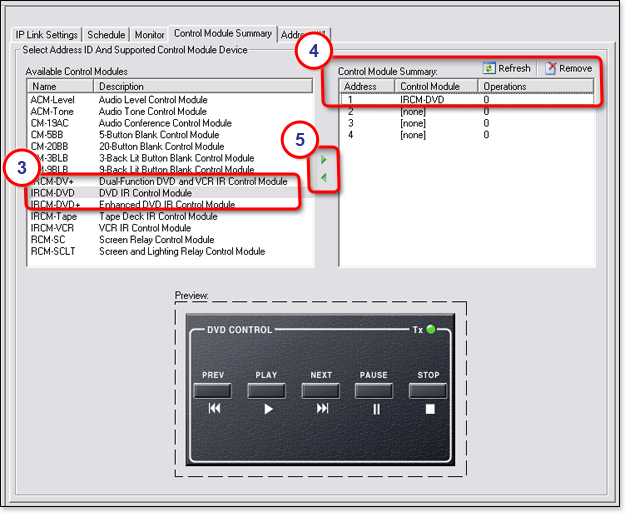
A Control Module is a plate with buttons that can be associated with a System 5 IP, mounted into an MLC 226 or
MLC 104 IP Plus, or mounted into a wall, podium, desk, or rack.

The buttons on a Control Module can be configured to perform specific device operations, such as power on a device, raise and lower audio volume, and so on.

The Control Module Summary tab is used to configure the button operations of a Control Module.

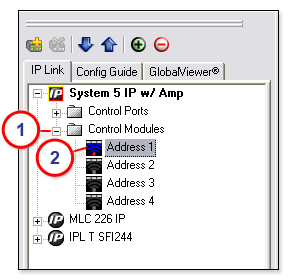
To configure a Control Module button:

  1. In the IP Link® Tree window, expand the Control Modules folder of a device by clicking the + sign.

  2. In the Control Modules folder, select an Address port.  The Control Module Summary tab opens.

  1. In the Available Control Modules section, select a control module (see below).

  2. In the Control Module Summary section, select an address.

  3. Click the Add (Right Arrow) button.  The description of the control module is displayed in the Control Module Summary section and in the IP Link Tree window.

  1. In the IP Link Tree window, click on the control module description.  The Address #1 tab opens and displays the selected control modules.


  1. In the displayed control module, select a button (see below).

  2. In the Button Operations section, expand the desired device driver by clicking the + sign.

  3. Expand the desired operation folder by clicking the + sign.

  4. Click and drag the selected button operation to either the Press or Release section.  A red triangle in the top, left corner of the associated button (7) indicates that the button has been configured.

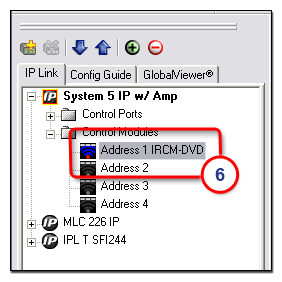
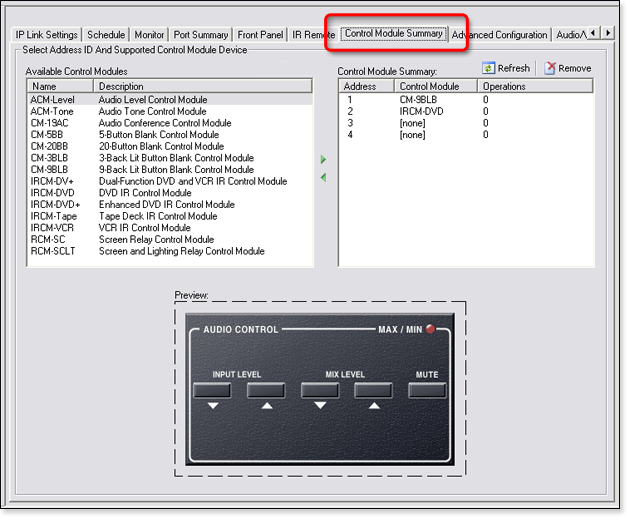
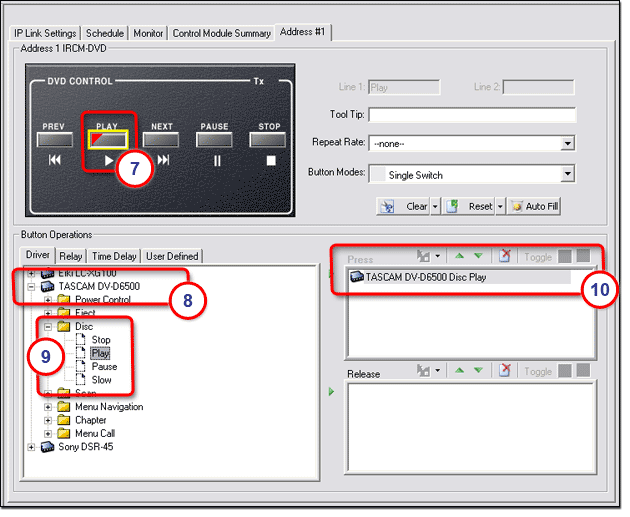
In the example below, we have added the Play operation to the Press action of the PLAY button.

Note:  All of the button functions must be configured here in the Address #1 tab for them to be operational.

Clearing, Resetting, and
Auto-filling Button Labels

The Clear button is used to clear all of the button captions.  Clear only applies to Control Modules with non-predetermined button captions).

The Reset button is used to return button operations to their factory default states.

The Clear and Reset buttons have the option to select This Button or All Buttons.

The Auto Fill button is used to configure all buttons with pre-determined button operations as defined by the associated device driver.

The Relay, Time Delay, and User Defined tabs in the Button Operations section allow you to add more button operations to each button.  

See the following subsections of "Front Panel Tab" for more information: